NPS Vital Ice STEM Kit Use Instructions
This kit is intended for middle and high school students in a supervised classroom setting. It is strongly recommended that instructors try the kit themselves before using it in class.
Unpacking Instructions:
One classroom set of 15 kits is split across two large yellow trunks. The two cases together serve up to 30 students working in pairs:
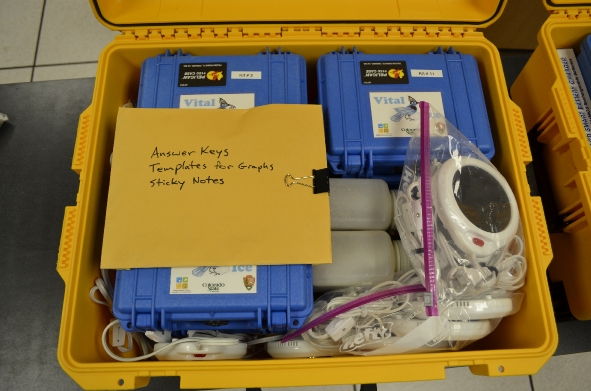
Case 1of 2: Contains 7 kits, 2 jars of extra “soil” sand, 15 laminated ice core answer graphs, graph templates, square sticky notes, 11 mug warmers.
Pass out the kits to pairs of students in the following order: #15, 2, 14, 11, 13, 1, 12. (If you have 14 or fewer students, this case is all you need.)
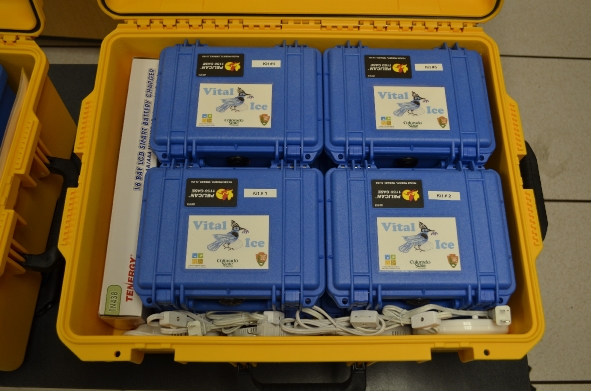
Case 2 of 2: Contains 8 kits to be used for class sizes greater than 14. There are also 4 mug warmers and a battery charger for the flashlight batteries. There are 5 extra AAA rechargeable batteries in the charger box.
Pass them out in this order: 8, 4, 9, 10, 6, 5, 3, 7.
Check to make sure the flashlights are very bright. It takes several hours to charge the batteries.
Room Setup:
- Arrange tables and chairs so that students can work in pairs.
- You may need to provide your own extension cords to allow students to plug in the mug warmers.
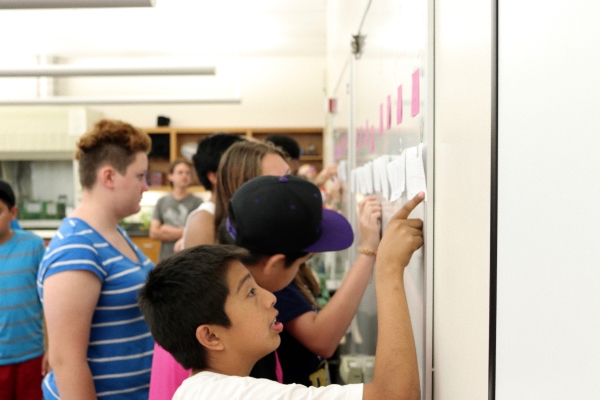
- Post sticky notes on the whiteboard or wall approximately 6 inches apart and numbered 1 through 15. The 15 should be on the left and the 1 should be on the right. Its should look like this:

- Write 2012 above sticky note #1.
- Write 1950 above sticky note #12.
- Write 1890 above sticky note #15.
- For any unused kits, tape the laminated answer graph under the appropriate sticky note (see photo above). Your students will fill in the missing pieces. When the students have all finished their graphs, you should have all 15 on the board, even if you have fewer than 30 students.
- Students will need water, a science notebook, and tape.
Begin Lesson:
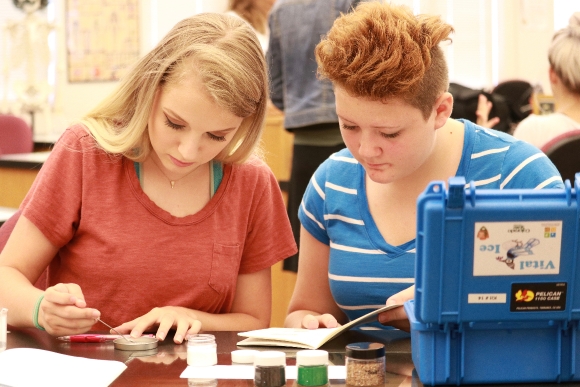
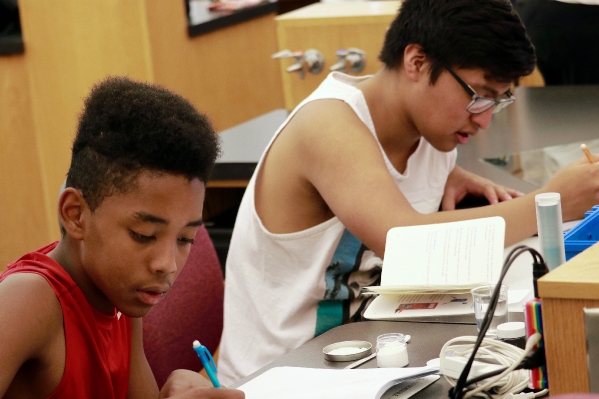
- The first thing students should do is begin a new page in their Science Notebook labeled “Vital Ice” with the date and name of their lab partner.
- Then they should open the kit and take out the Vital Ice booklet and begin reading on page 3.
- Whenever they get to a “Science Notebook” pencil icon, they should stop and do whatever it says in their science notebooks.
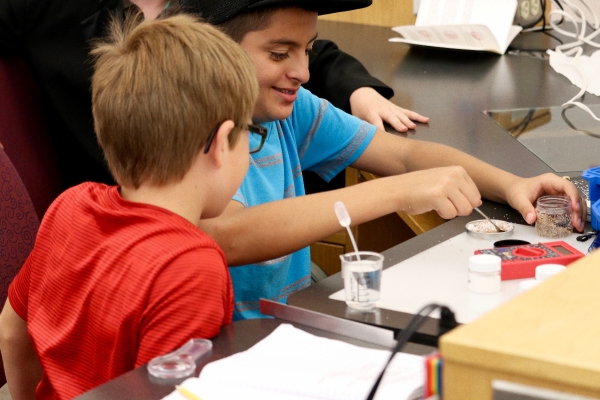
- Pairs of students should be allowed to proceed at their own pace. Make sure to encourage them to read the text and not just look at pictures in the booklet.
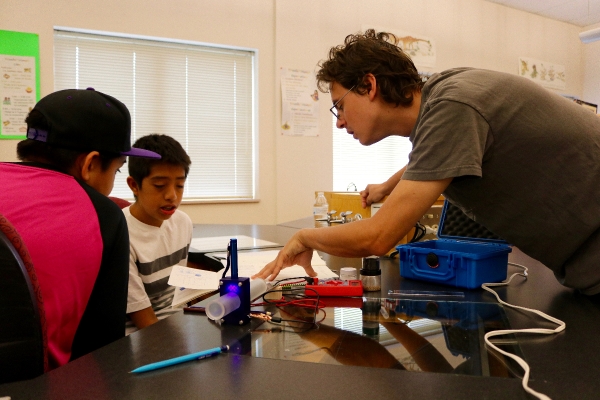
- Walk around the classroom and check in on each pair of students. Younger students will need more help with interpreting the instructions.
- Most students will really enjoy the autonomy and exploration.
- Make sure their Ice Core Scanner is put together in the exact same orientation as shown in the booklet. Some students put it together backwards.
Their graphs should have the same shape as the laminated graph keys. If the graphs do not look the same as the keys, Check that the multimeter is on the correct setting and that the battery in the flashlight is fully charged.
- Once everyone has their graph posted on the whiteboard or wall, they can begin counting years and melt events. They can also figure out which volcano caused the peak in their data!
Class Discussion
It is important to leave at least 15 minutes at the end of the lesson for a class discussion.
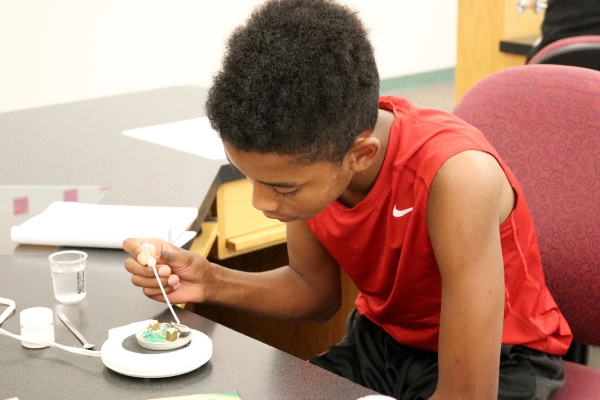
In what important way does the polymer ice behave like real ice?
The polymer ice expnads when it gets wet and shrinks when it drys out on the hot plate. Real water ice expands when it freezes and shrinks when it melts.
Have a few groups share out what they observed in their permafrost model. What happened to the buildings? What happend to the roads?
The buildings built on the permafrost side of the model should have sunk into the soil and tipped over. The road should have been damaged with small potholes and bumps.
What happend to the permafroast when you rewetted the polymer ice?
The soil expanded again and increased the amount of damage to the road and building. One time thawing causes damage, but repeated thawing and re-freezing really causes damages.
If you live in Alaska, how have these types of damage affected your way of life?
How many years of ice were represented in you ice core?
Some groups will say 2 or 3. Others will say 25.
Why did some of the cores only have a few years and others had lots of years?
The weight of ice compresses the years towards the bottom of the core.
How did the volcanic sulfate get into the middle of the ice core?
It fell from the ash cloud in the sky onto the surface of the ice in the year of the eruption. Susequent years if snow covered the ash and buried it over time.
How many melt events were there between 1880 and 1950?
~23
How many melt events were there between 1950 and 2012?
~125
Show this animation of the change in global average temperature over the length of the ice core.
https://scratch.mit.edu/projects/283054052/
Why did we ask you to read the story about the two boys in the canoe?
Small actions can lead to big problems for your community. Observing animals can help you understand what is going on beyond your immediate surroundings.
What small things can you do that might help the environment?
Turn off the lights when you leave a room. Turn off the water when you brush your teeth. Avoid buying things that can’t be reused or recycled. Etc…
Clean Up:
- Students should unplug their mug warmers and let them cool down before touching.
- Permafrost sand and ice mixtures can be disposed of in the trash.
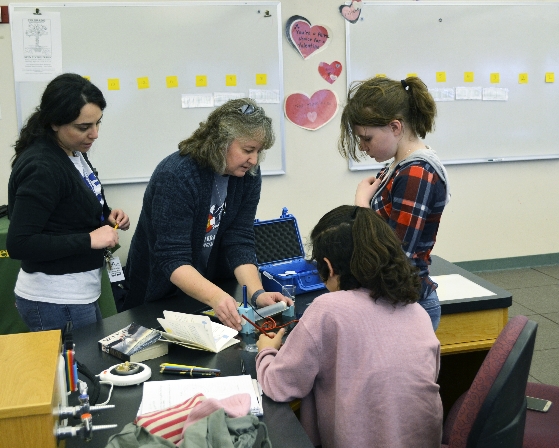
- The students might need help repacking their kits. Don’t let them force the box lids shut.
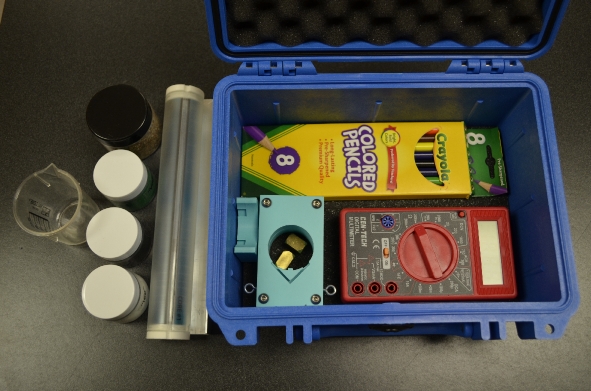 Step 1: Put the multimeter, colored pencils, blue ice core scanner parts and metal buildings in the case first.
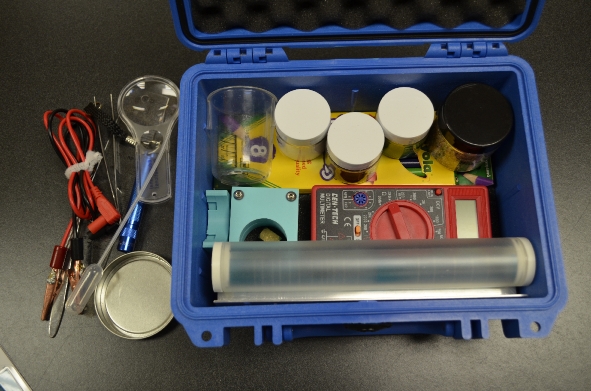 Step 2: Put the plastic jars and beaker on top of the colored pencils. Put the ice core and aluminum track on top of the multimeter.
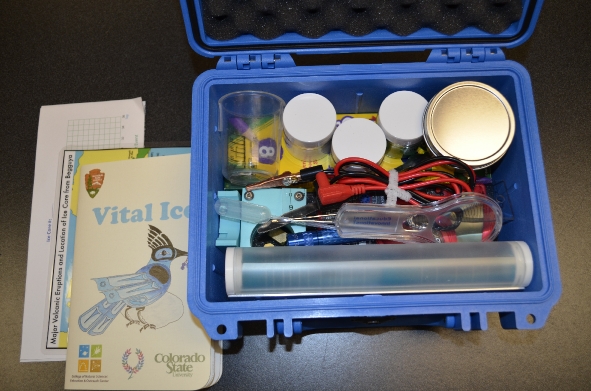 Step 3: Add the red and black multimeter wires, flashlight, magnifying glass, pipette, scoop, tweezers and pan.
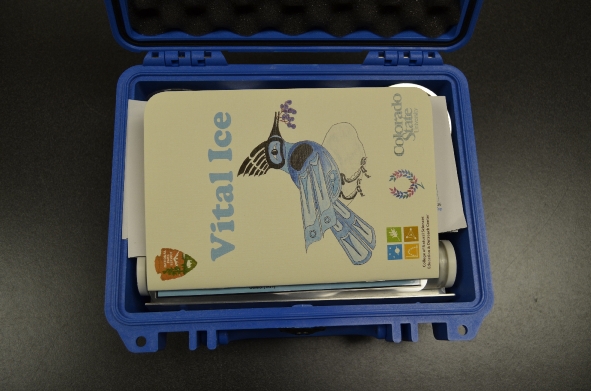 Step 4: Add the map, booklet, and 2 blank graph templates on top and carefully close the lid without pinching any of the items.
